
I was pretty certain that I wanted it white as soon as we bought the house. When I saw the backsplash and recognized it on the Neely's home kitchen from their show, I knew it would go beautifully with creamy white cabinets like Pat and Gina have.
 But it was such a huge impactful change that couldn't be undone, so I needed a little convincing to take the plunge. It was a post on Maria Killam's blog, Colour Me Happy that talked me into it. She wrote:
Here is a photo of a typical oak kitchen mostly installed in this era of kitchens. (Insert photo of my old kitchen when we first viewed the house here!)
 When I am standing in a kitchen that looks very much like this one, and I recommend that this kitchen be painted white or cream--as soon as the words out of my mouth--the wife's face lights up and the husband looks horrified at the prospect of painting THE WOOD! I'm not sure why most men have this reaction but it's pretty common. Men usually come around once they understand that it's not about the wood, it's about the fact that it's dated. And to be clear, I don't advocate painting ALL WOOD, just kitchens in this era.
So for those of you with this kitchen, reading this right now, there's really just one thing you need to know: This kitchen IS NEVER COMING BACK. So the only way to extend the life of it is to prime it, paint it, and install new brushed nickel hardware. Period, end of conversation.
Well, yes ma'am!
Sean didn't seem "horrified" by the notion, but my dad did. "Ooh, I don't know baby. This is some good wood," he said when I told him my idea. I said it would still be good wood underneath...but he wasn't convinced. I went forward anyway and I am IN LOVE!
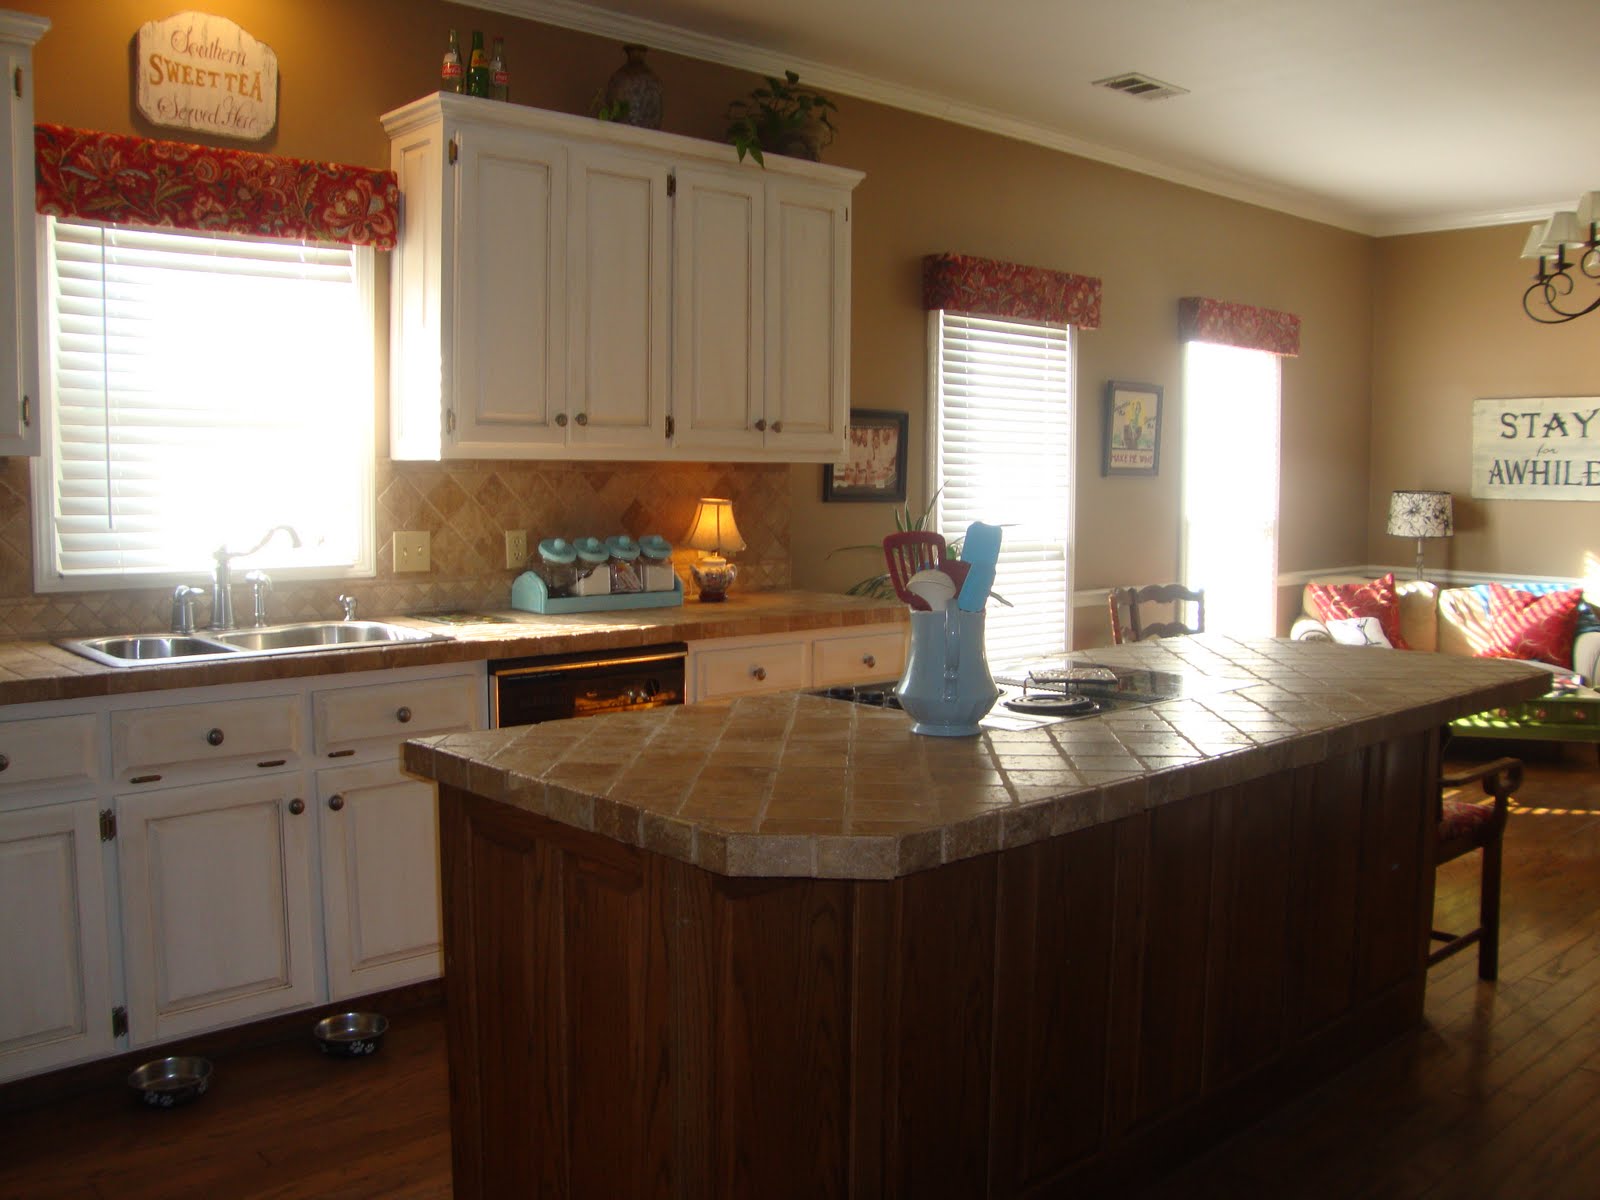
Cabinets Before:

Cabinets After:

It took 3 weeks worth of weekends. I unscrewed. I sanded. I painted. I glazed. I FINALLY reconstructed our torn apart kitchen and was blown away when I stepped back to see it for the first time.
Before:

After:
Before:

After:
Before:

After:
I thought I might never get the project started, but instead spend eternity agonizing over the right shade of white. I did what I usually do when I'm stuck on a color decision, and chose by the name on the paint chip.

Our kitchen walls are painted in "Hot Chocolate" so I chose "Frozen Vanilla".

And they lived happily ever after.

Here are some close-ups of the paint and glaze:

We lucked out that the previous owner had already updated the hardware to brushed nickel knobs.


I could have glazed them as much or little as I wanted.
 I love the happy medium I ended up with.
I still want to do something to the island. I would love to stain/paint it dark like Giulana and Bill's:
 And I still want to have DARK hardwood floors too:
But I am so ecstatic about the change so far!
 I walk in and feel like I can breathe.
 But I don't mind if I hang up my little paint brush for a while:)
Katie

Katie, they look fabulous!! You have always been so creative. I think the dark floors and island would look gorgeous! Be sure to post pictures if and when you do it!!
ReplyDeleteLooks wonderful! I too live with a kitchen that suffocates me... I am going for it and going to paint... One question I have. Is your tile. I have something very similar but, the grout color is waaaaay to 80's early 90's. do you have any idea what color of grout you have in yours?
ReplyDeleteThe counters were in the kitchen when we bought the house, so I don't have a name. But they're pretty much the exact color of sand on a beach. Colors like "buff" "sand" "navajo" or "tan" are probably similar.
ReplyDeleteI love it and plan on doing the same thing soon! How have they held up over time? I love that you didnt overkill on the glaze. This is exactly the look I want, can you describe a little more detail about how you got such a light glaze only in the nooks and crannies? Also, did you use any kind of a seal on it?
ReplyDeleteThey've held up great, no change since they were done. No sealer used. I just used light brush strokes to apply small amounts of glaze, then wiped almost all of it off with a cloth, leaving only streaks and crevices. You can apply and remove over and over until it looks right.
Delete