The coming of Spring is always the happiest time of year. Our moods lift, time slows down a bit, and we take the chance to notice how beautiful life is. While I don't have the privilege to be given a week long spring break like my husband, I took the liberty of taking a couple days this week to "spring organize" every closet and complete one room; Our master bath.
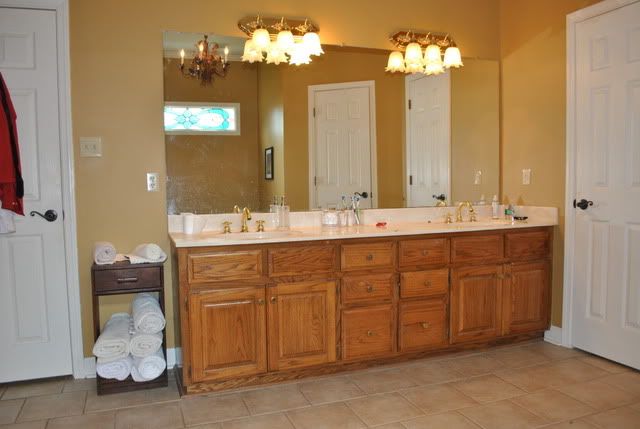
No better time to erase the stifling golden yellow walls and orange oak and replace it with a soothing, refreshed look.
No better time to erase the stifling golden yellow walls and orange oak and replace it with a soothing, refreshed look.
The bathroom was cloaked in the same mustard yellow that haunted our dining room and bedroom. And those cabinets make me shutter...
Because I know you'll scroll down to see the after anyway, I'll cut to the chase and explain what all went down later.
Before:
After:

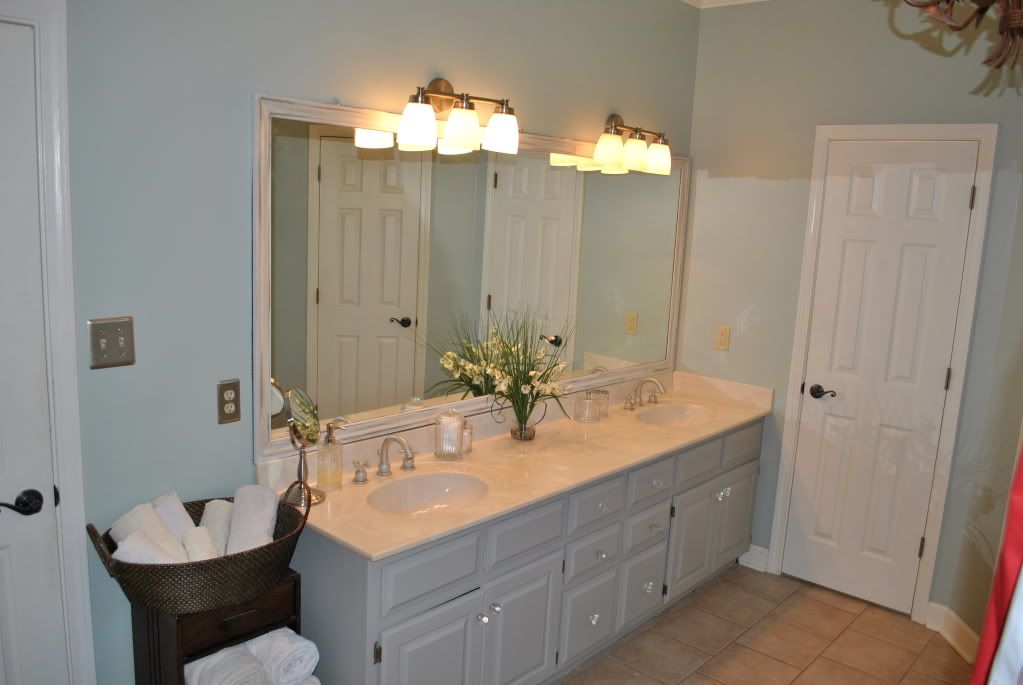
I started with painting the walls "Contemplation" by Behr. It's a soothing blue/green/gray color, depending on the light, that gave me the feeling I wanted.
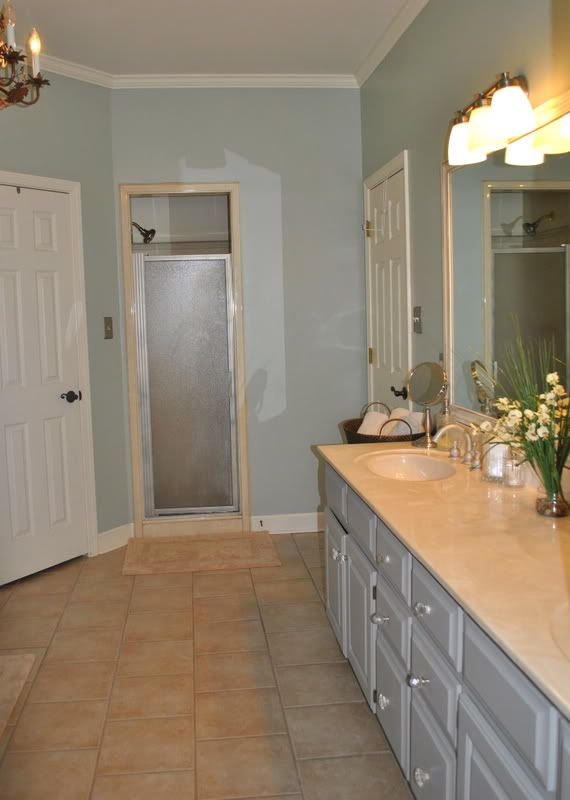
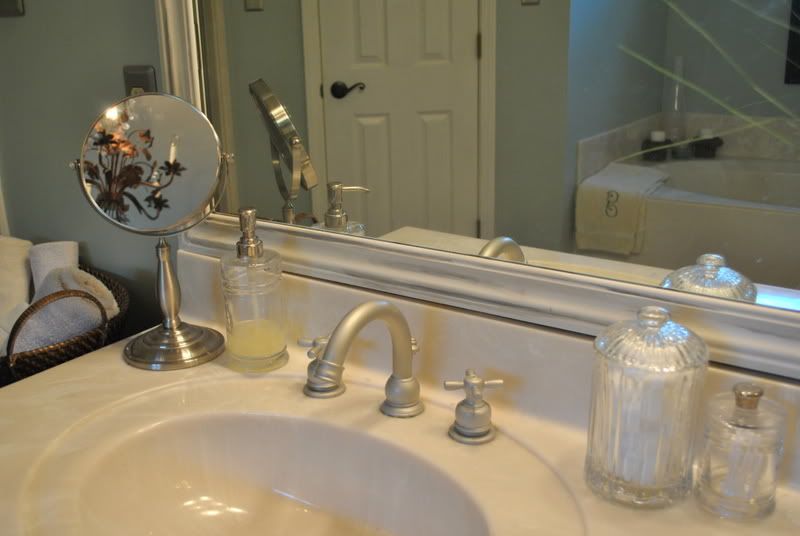
Next, I updated the faucet fixtures and shower door inexpensively by meticulously taping the edges and spray painting with brushed nickel, being sure to prime well for durability. I used Rustoleum primer for metal, 2 coats, then spray painted with my brushed nickel.
Before:
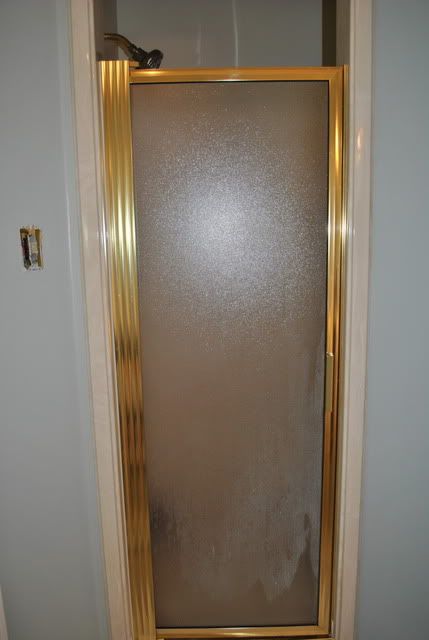
During:


After:
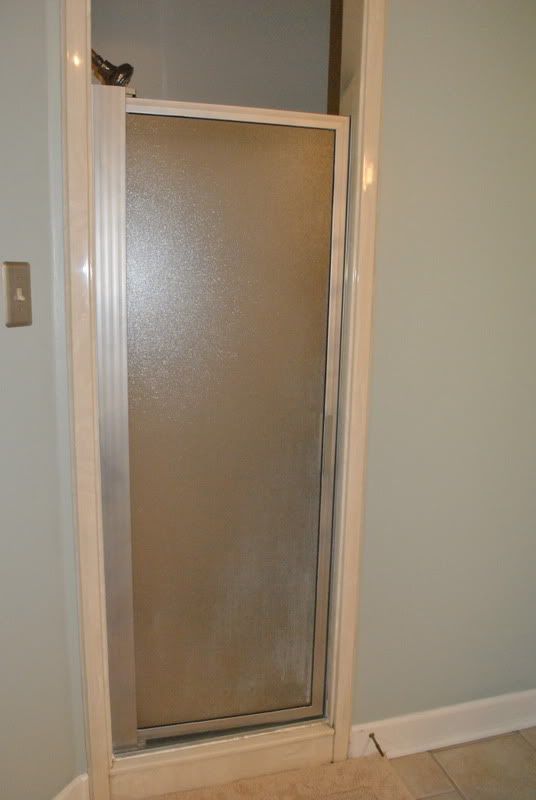
Not a permanent fix but it should definitely buy us a few years since we have so many updates going on right now.
Before:

After:
Bathtub faucet Before:

During:

And After:

I bought trim moulding to frame the mirror. I painted it with a color I mixed of creams and taupey grays then lightly distressed.
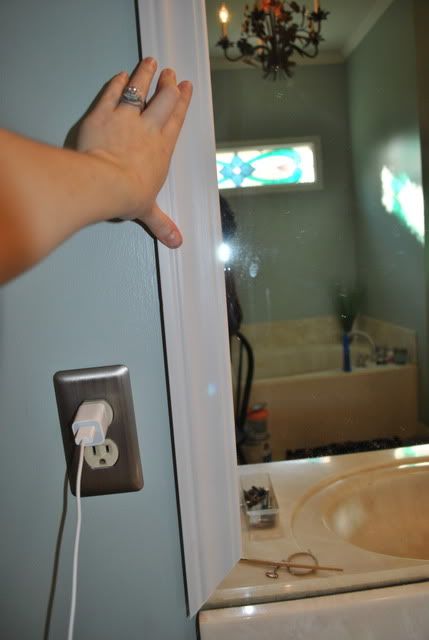
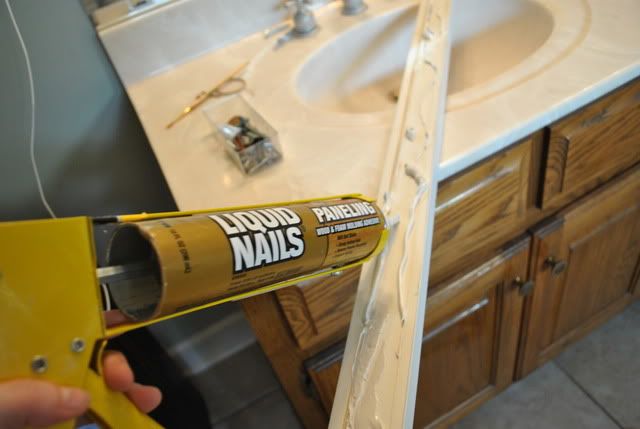
The miter box and saw created the 45 degree angle corners and Liquid Nails was used to adhere the frame to the edge of the mirror.
Because I know you'll scroll down to see the after anyway, I'll cut to the chase and explain what all went down later.
Before:

After:

I started with painting the walls "Contemplation" by Behr. It's a soothing blue/green/gray color, depending on the light, that gave me the feeling I wanted.
Next, I updated the faucet fixtures and shower door inexpensively by meticulously taping the edges and spray painting with brushed nickel, being sure to prime well for durability. I used Rustoleum primer for metal, 2 coats, then spray painted with my brushed nickel.
Before:

During:


After:

Not a permanent fix but it should definitely buy us a few years since we have so many updates going on right now.
Before:

After:

Bathtub faucet Before:

During:

And After:

I bought trim moulding to frame the mirror. I painted it with a color I mixed of creams and taupey grays then lightly distressed.

The miter box and saw created the 45 degree angle corners and Liquid Nails was used to adhere the frame to the edge of the mirror.

Finished mirror frame and new light fixtures:
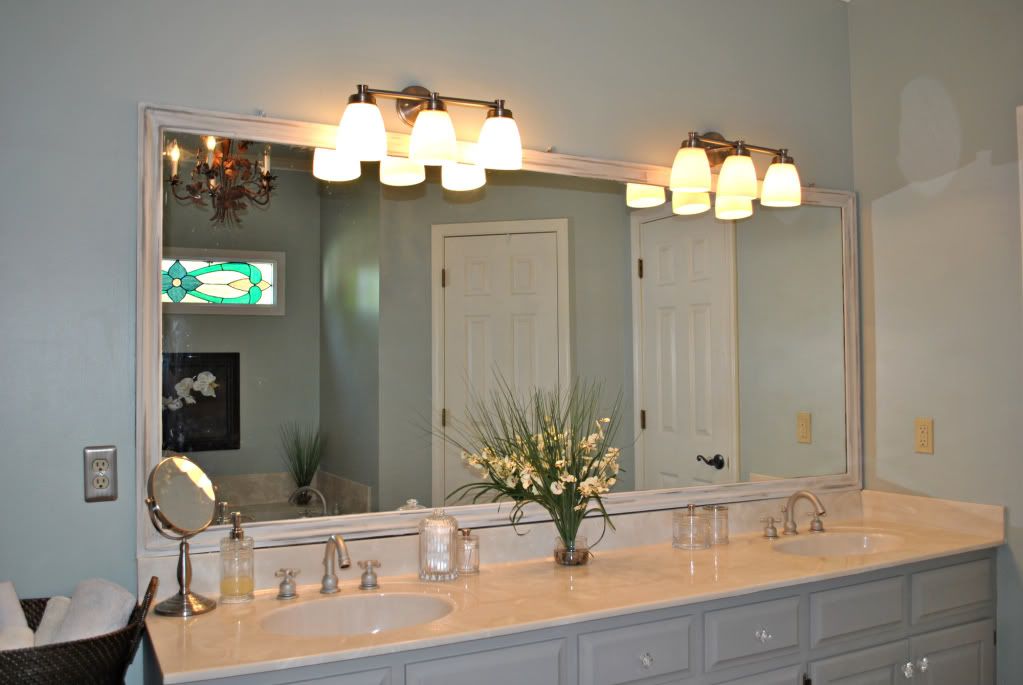
The cabinets were given a facelift with a custom mixed light gray paint color.
I sanded, primed, painted, then sealed.
 Finally, vintage inspired glass knobs were purchased at Hobby Lobby.
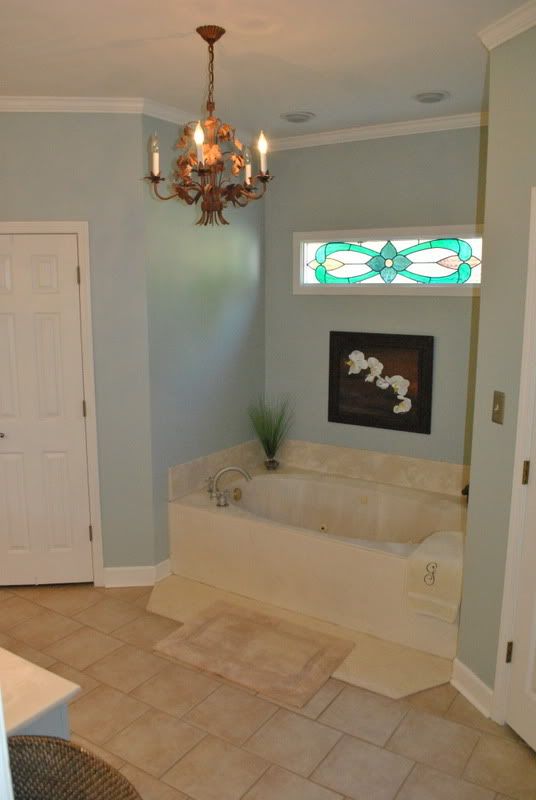
I hung an orchid painting of mine from a while ago over the tub.
Bathtub Before:
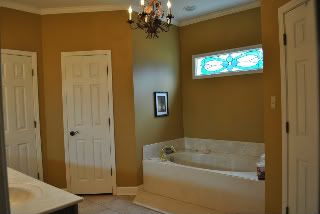
After:
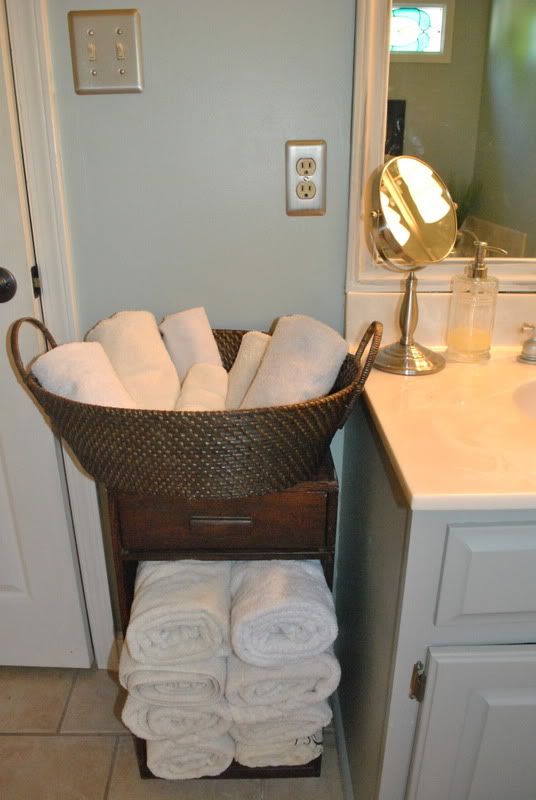
New light switch plates and outlet covers in stainless steel and an antique piece and woven basket for rolled towels:
It's no longer harsh and abrasive, but calm and peaceful.
Another room down!
...and who knows how many more to go...
Follow @ktgray13
Happy Spring, friends:)
Katie
Katie


